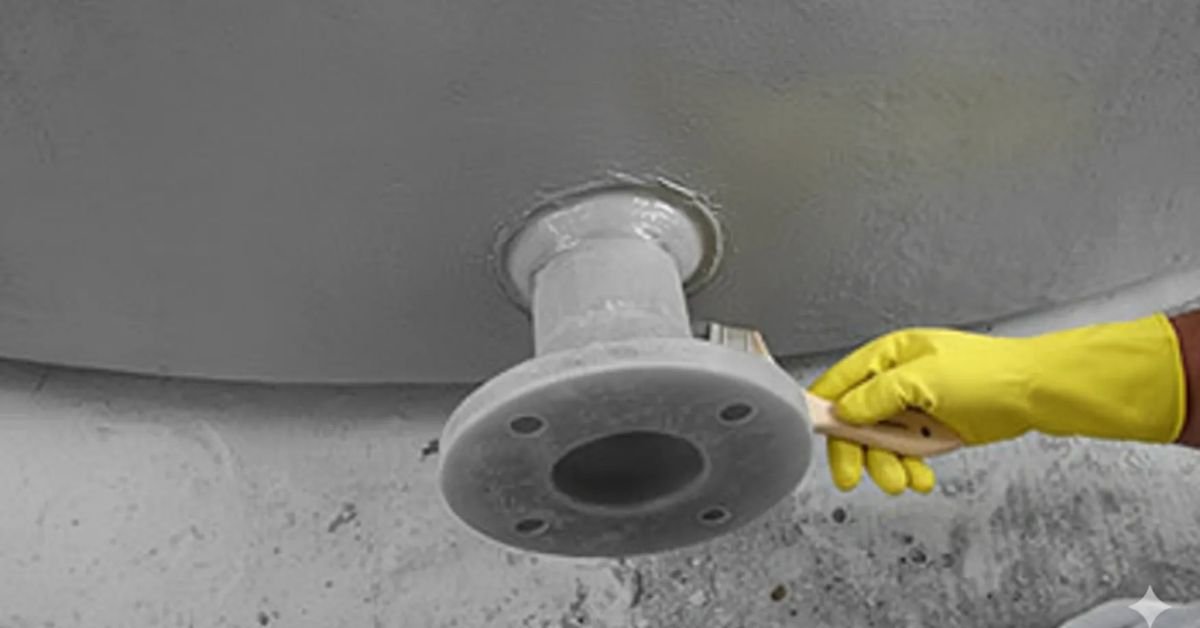
As an industrial maintenance engineer and composite materials specialist with years in chemical processing plants, refineries, and pulp & paper facilities, I’ve seen FRP (Fiberglass Reinforced Plastic) tank nozzles as one of the most common leak points. A well-executed nozzle repair can restore structural integrity and chemical resistance for years, avoiding costly downtime, environmental releases, and regulatory issues. This guide focuses on practical, field-proven methods for technicians and plant teams.
1. Why FRP Tank Nozzles Fail or Leak
Understanding failure modes drives better repairs and prevention:
- Shear Stress and Mechanical Loading: Nozzles experience high point loads from attached piping, valves, pumps, and thermal movement. Misaligned or unsupported piping creates shear and bending moments that crack the laminate at the nozzle-to-shell junction. Over-torqued flanges or vibration exacerbate this.
- Thermal Expansion Mismatch: FRP has a different coefficient of thermal expansion than metal nozzles or piping. Cyclic temperature changes (day/night, process upsets) cause delamination or cracking at the bond line.
- Chemical Corrosion and Permeation: Aggressive media (acids, alkalis, solvents, bleaches) attack the resin matrix, especially if the corrosion barrier (C-barrier, typically a resin-rich veil or mat layer) is compromised. Osmotic blistering and fiber blooming follow. Poor initial fabrication (voids, dry spots, inadequate post-cure) accelerates this.
- Other Contributors: Installation damage, foundation settlement, UV degradation on external surfaces, and fatigue from pressure/vacuum cycles.
Prevention Tip: Always design nozzles with generous gussets or pad reinforcements, use flexible bellows or expansion joints on piping, and monitor for stress whitening (visible white areas indicating micro-cracks) during inspections.
2. Pre-Repair Assessment and Safety
Safety First (Non-Negotiable):
- Lockout/Tagout (LOTO) the tank and connected systems.
- Confined space entry protocols if working inside: atmospheric testing, ventilation, harnesses, and standby rescue.
- Use chemical-resistant PPE (gloves, suits, respirators). Many resins contain styrene (vinyl ester) or amines (epoxy)—ensure good ventilation and skin protection.
- Drain and clean the tank thoroughly. Neutralize residues and pressure wash. Dispose of waste per regulations.
- Work in temperatures 60 to 80 degrees Fahrenheit (15–27°C) ideally; avoid high humidity (>70% RH) which affects curing.
Assessment:
- Visual and tactile inspection for cracks, delamination, blistering, discoloration.
- Tap testing (coin or hammer) for hollow sounds indicating voids.
- Measure remaining laminate thickness with ultrasonic gauges if available.
- Barcol hardness test on the corrosion barrier (typical 40–50 for well-cured vinyl ester).
- Determine the original resin type (vinyl ester for most chemical tanks; epoxy for specialized high-performance needs) by consulting tank records or small burn tests on samples.
If damage is extensive (> certain % of wall or structural), consider full nozzle replacement or tank section replacement rather than patch repair.
3. Step-by-Step Manual Repair Process
This assumes a typical field repair of a leaking nozzle on a vinyl ester or epoxy-based FRP tank. Match materials to the service (e.g., vinyl ester for broad chemical resistance; epoxy for superior adhesion and some solvents).
Step 3.1: Surface Preparation (Critical—80% of repair success depends on this)
- Isolate the area and mask surroundings.
- Grind back the damaged laminate in a tapered “feather” pattern (minimum 12:1 taper ratio, e.g., 3 inches back per 1/4 inch thickness) to sound material. Remove all damaged fibers, resin, contaminants, and the old nozzle if necessary.
- Use 40–80 grit abrasive discs initially, progressing to 120–220 grit for smoothness. Remove gloss and create a rough profile for secondary bonding.
- Clean thoroughly with acetone or approved solvent (MEK for some systems). Wipe until there is no residue on white rag. Avoid water unless specified.
- For secondary bonding to cured laminate, some experts recommend a light “key coat” or silane coupling agent for better adhesion.
Pro Tip: Grind from inside and outside if accessible. Create a generous repair pad area (at least 2–3x nozzle diameter around the base).
Step 3.2: Apply New Nozzle or Repair Patch
- For replacement: Fabricate or install a compatible FRP nozzle stub with integral flange or gussets. Bevel edges for lamination.
- Prime the prepared surface with a thin layer of the chosen resin (catalyzed appropriately).
- Build the corrosion barrier first: 1–2 layers of C-glass veil or synthetic veil saturated with resin (resin-rich, ~90% resin content) for chemical resistance. Roll out air bubbles aggressively.
Step 3.3: Secondary Bonding Laminations
- Use chopped strand mat (CSM) or woven roving for structural layers, alternating as per original design (e.g., 1 veil + mat + roving sequence).
- Mix resin properly: For vinyl ester, use MEKP catalyst (typically 1–2% by weight); for epoxy, follow a hardener ratio. Add promoters if needed for temperature.
- Apply wet-on-wet where possible for best interlaminar bonds. Build thickness to match or exceed original (calculate based on pressure rating and nozzle size—consult ASME RTP-1 or BS 4994 guidelines if high-pressure).
- For high-load areas, incorporate unidirectional fibers or additional gusset laminates oriented to handle hoop and axial stresses.
- Roll thoroughly to eliminate voids. Use squeegees and rollers.
Curing:
- Allow initial gel (tacky to touch, ~1–4 hours depending on formulation/temp).
- Full cure: Minimum 24–48 hours at ambient; post-cure with heat (e.g., 120–180°F for several hours) dramatically improves chemical resistance and Barcol hardness. Use heat blankets or lamps carefully.
- Do not put into service until Barcol hardness meets spec and a 24–72 hour hydrotest or visual leak check passes.
Step 3.4: Finishing
- Sand smooth, apply final resin topcoat or UV-resistant gel coat if external.
- Reinstall or align piping with proper supports and gaskets (e.g., PTFE or compatible elastomers).
4. Quality Control and Testing
- Visual and Dimensional: Check for wrinkles, dry spots, cracks, proper alignment.
- Barcol Hardness: Test multiple points; low readings indicate under-cure.
- Spark/Holiday Testing: Essential for detecting pinholes in the corrosion barrier. Use a high-voltage DC or AC tester (e.g., 10–20 kV depending on thickness—follow manufacturer charts). Ground the tank shell. Any spark indicates a defect—repair and retest. Perform after full cure but before return to service.
- Pull-Off or Adhesion Testing: Apply a small test patch nearby and test bond strength.
- Hydrostatic or Pneumatic Test: Pressure test per original design code.
- Document everything: photos, materials used (batch numbers), cure logs, test results.
Common Pitfalls to Avoid:
- Inadequate feathering or cleaning → delamination.
- Wrong resin or catalyst ratios → soft or brittle repair.
- Rushing cure → premature failure.
- Ignoring pipe loads → repeat leak.
5. Long-Term Prevention Strategies
- Schedule regular inspections (internal/external every 1–5 years per service severity).
- Install nozzle load monitoring or strain gauges on critical tanks.
- Use high-quality initial fabrication (e.g., filament-wound with proper C-barrier).
- Train operators on proper torqueing and support.
- Consider external FRP or metallic reinforcements for high-risk nozzles.
Following these steps, repairs routinely achieve full design life extension. Always consult the tank manufacturer’s specific guidelines and, for critical applications, engage certified FRP inspectors (e.g., FTPI). If in doubt, a small sample repair on scrap can validate your process.
This is field knowledge—adapt to your specific chemistry, pressure, and regulations. Safe repairs prevent leaks and keep plants running.
FAQS
1. What causes FRP tank nozzles to leak?
FRP tank nozzles usually leak because of pipe stress, thermal expansion, chemical corrosion, vibration, poor installation, or aging materials that weaken the laminate around the nozzle.
2. Can a damaged FRP tank nozzle be repaired instead of replaced?
Yes. Minor to moderate damage can often be repaired using the correct resin, fiberglass reinforcement, and proper surface preparation. Severe structural damage may require complete nozzle replacement.
3. Why is surface preparation important during FRP nozzle repair?
Proper grinding, cleaning, and tapering create a strong bond between the old and new laminate. Poor surface preparation is one of the leading causes of repair failure.
4. How long should an FRP nozzle repair cure before returning the tank to service?
Most repairs require at least 24–48 hours of curing at ambient temperature. The exact curing time depends on the resin system, temperature, and manufacturer recommendations.
5. How can industrial facilities prevent future FRP tank nozzle leaks?
Regular inspections, proper pipe support, correct flange torque, high-quality fabrication, and routine maintenance help reduce stress on the nozzle and prevent future leaks.
For More Information Visit AmgNews.